How to Self-Host Memos: A Lightweight Open-Source Note-Taking App
Learn how to self-host Memos, a fast and lightweight open-source note-taking app for privacy and control. This step-by-step guide covers Docker installation, HTTPS security, and essential configurations to optimize your self-hosted Memos setup. Perfect for self-hosting enthusiasts and privacy-focused users.
Introduction – What is Memos? Why Self-Host It?
Ever feel like your notes are scattered across apps, and you’re losing control of your data?
Or maybe you’re tired of paying for bloated note-taking services that don’t respect your privacy?
That’s where Memos comes in.
Memos is a lightweight, open-source note-taking app that supports markdown, tagging, and web access.
It’s simple, fast, and perfect for anyone who loves minimalism.
But here’s the kicker: when you self-host Memos, you take full control of your data.
No ads, no tracking, no third-party snooping.
Just your notes, your way.
In this guide, I’ll show you how to self-host Memos on your own server.
Whether you’re a privacy enthusiast, a self-hosting tinkerer, or just someone who loves clean tools, this is for you.
Prerequisites – What You’ll Need
Before we dive in, make sure you’ve got:
A Linux server (Ubuntu/Debian works great).
Docker installed (it’s the easiest way to run Memos).
A domain name (optional, but recommended for secure access).
Got it? Let’s roll.
Step 1: Installation – Docker Method (Recommended)
The easiest way to run Memos is with Docker.
1.Pull the Memos Docker image:
Open your terminal and run
2.Run the container:
Start Memos with this command:
3.Access Memos:
Open your browser and go to http://your-server-ip:5230.
You’ll see the Memos web UI.
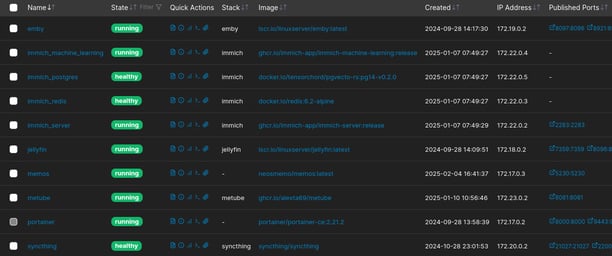


Memos Installed
Step 2: Installation – Docker Method
Using Docker Compose:
If you prefer using Docker Compose for managing your containers, here's how you can set up Memos:
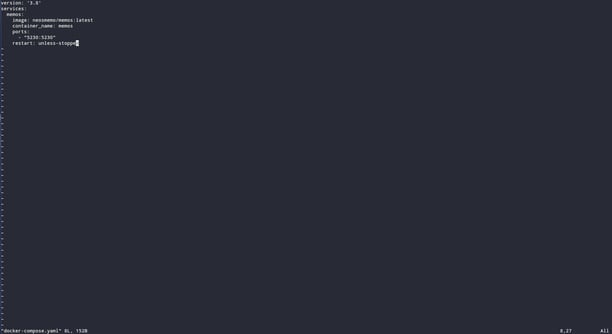
1.Create a docker-compose.yml file in your project directory:
2.After creating the docker-compose.yml file, run the following command to
start the service
3.Access Memos by opening your browser and going to
http://your-server-ip:5230

Step 3: Configuration – Set Up Memos
Now that Memos is running, let’s configure it.
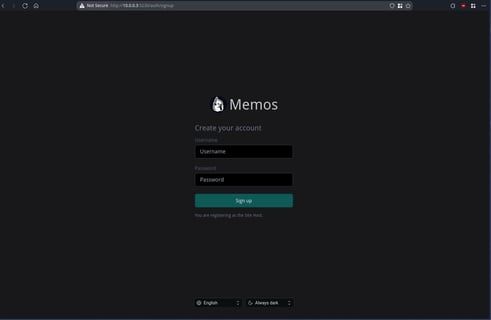
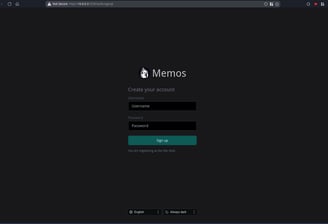
Create an account:
Open the Memos web UI and sign up.Set storage location:
By default, Memos stores data in SQLite.
If you want to use a different database (e.g., MySQL), update the config.Enable Markdown:
Memos supports Markdown out of the box.
Just start typing in Markdown syntax, and it’ll render beautifully.
In my case the IP is http://10.0.0.3:5230
Step 5: Enhancements – Make Memos Work for You
Let’s take Memos to the next level.
Mobile access:
Memos works great on mobile browsers.
Bookmark it for quick access.Backups:
Regularly back up your SQLite database or MySQL data.
Use a cron job or a script to automate this.Integrate with workflows:
Use Memos for daily journaling, task management, or even as a knowledge base.
Step 6: Troubleshooting – Fix Common Issues
Ran into a problem? Here’s how to fix it.
Container won’t start:
Check logs with:
2.Database issues:
If using MySQL, ensure the database is accessible and the credentials are
correct.
3.SSL errors:
Double-check your reverse proxy config and certificate paths.
Conclusion – Why Self-Host Memos?
And there you have it—a fully functional, self-hosted Memos instance.
By now, you’ve:
Installed Memos using Docker or manually.
Configured storage and security.
Set up enhancements like backups and mobile access.
The benefits?
Full control over your data.
No ads, no tracking.
A clean, minimalistic note-taking experience.
Ready to take it further?
Experiment with integrations, custom themes, or even contribute to the Memos project.
FAQs
Q: Can I use Memos offline?
A: Yes, as long as your server is accessible locally, you can use Memos offline.
Q: Is Memos better than Notion?
A: It depends. Memos is lighter and simpler, but Notion has more features.
Q: Can I sync Memos across devices?
A: Yes, as long as your server is accessible, you can sync notes across devices.
Q: Is Memos free?
A: Yes, Memos is open-source and completely free.
Final Thoughts
Self-hosting Memos is a game-changer for anyone who values privacy and simplicity.
It’s fast, lightweight, and puts you in control of your notes.
So, what are you waiting for?
Dive in, set up Memos, and take your note-taking to the next level.
Keyword: Self-hosting, Self-hosted, Linux, Servers