How to Set Up OPNsense on Proxmox: A Step-by-Step Guide for Secure Virtual Networking
Learn how to set up OPNsense on Proxmox with this detailed step-by-step guide. Discover how to create a secure and efficient virtualized network environment using OPNsense as your firewall on Proxmox. Perfect for home lab enthusiasts and IT professionals seeking enhanced network management
Why Run OPNsense on Proxmox?
Efficient Resource Utilization: Virtualize your firewall and other networking appliances to save hardware costs.
Flexibility: Proxmox allows you to create, manage, and scale virtual machines (VMs) easily.
High Availability: Proxmox’s clustering and backup capabilities ensure minimal downtime for your firewall.
Prerequisites
Before starting, ensure you have the following:
A Proxmox VE installation (version 7 or later recommended).
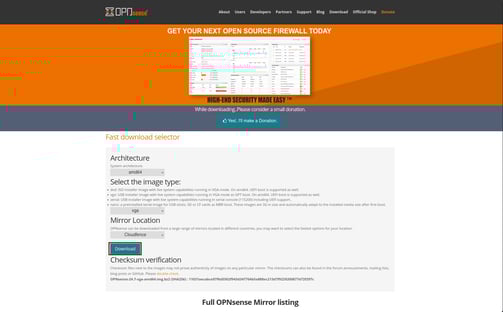
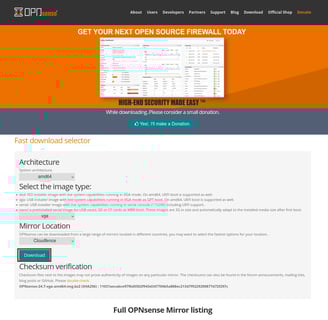
OPNsense ISO file (downloadable from OPNsense.org).
Sufficient system resources (minimum 2 GB RAM and 2 vCPUs for OPNsense VM).
Basic understanding of Proxmox and networking concepts.
Step 2: Create a Virtual Machine for OPNsense
Create a New VM:
Go to Datacenter > > Create VM.
Set a name for your VM (e.g., "OPNsense-Firewall").
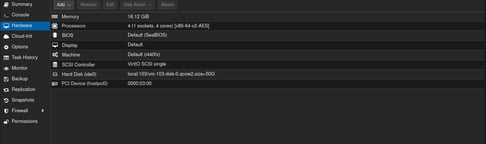
Configure General Settings:
OS: Select "Do not use any media" for now.
System: Choose UEFI for better compatibility.
Disks: Assign at least 8 GB of storage (more if needed).
CPU: Assign 2 cores.
Memory: Allocate 2 GB (adjust based on your requirements).
Attach the OPNsense ISO:
Under the "CD/DVD" section, select the uploaded OPNsense ISO.
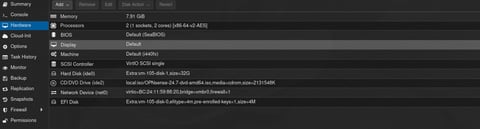
Network Configuration:
Add two network interfaces:
WAN Interface: Attach to the bridge connected to your ISP or external network.
LAN Interface: Attach to the bridge connected to your internal network.
Finish and Start the VM:
Click Finish and start the VM.


Test OPNSENSE VM
Dail driver opnsense vm
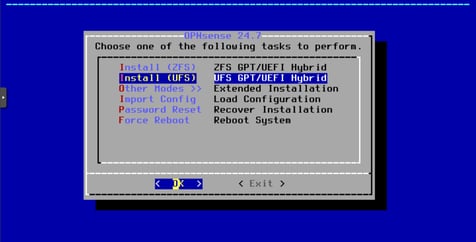
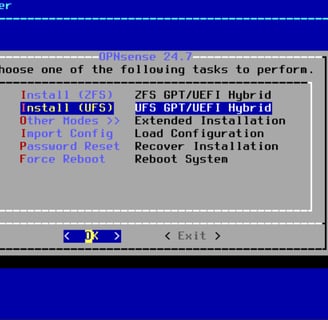
Step 3: Install OPNsense
Boot from ISO:
Open the VM console and boot into the OPNsense installer.
Follow Installation Steps:
Select "Install (ZFS or UFS)."
Configure your disk, keyboard layout, and root password.
Once installation is complete, reboot and remove the ISO.
Assign Interfaces:
Assign the first interface as WAN and the second as LAN.
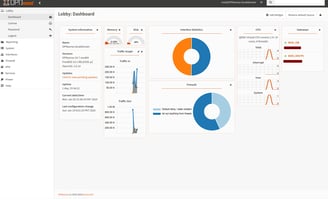
Step 4: Configure OPNsense
Access the Web GUI:
Connect a device to the LAN interface.
Open a browser and go to http://192.168.1.1 (default).
Log in with:
Username: root
Password: The password set during installation.
Run the Setup Wizard:
Configure basic settings like hostname, domain, and DNS servers.
Set up your WAN connection (DHCP, PPPoE, or Static IP).
Secure the Firewall:
Change the default admin password.
Enable SSH for management (optional).
Step 5: Optimize Proxmox Settings for OPNsense
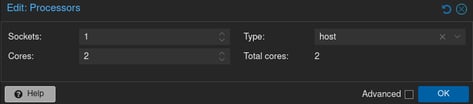
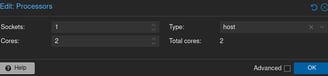
Enable CPU Passthrough:
Go to the VM’s hardware settings.
Edit the CPU settings and enable "Host" to pass through the physical CPU features.
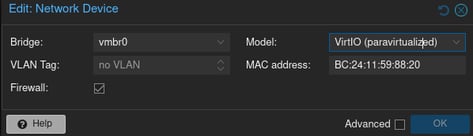
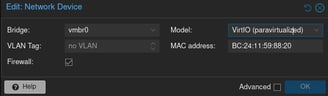
Enable VirtIO for Network Interfaces:
Use VirtIO for better network performance.
Update OPNsense’s interfaces to use VirtIO drivers if needed.

Step 6: Test and Verify
Check Connectivity:
Ensure devices on the LAN can access the internet through the OPNsense VM.
Test Firewall Rules:
Add custom firewall rules to secure your network.
Backup Configuration:
Go to System > Configuration > Backups and save your settings.
Conclusion – Why OPNsense on Proxmox Rocks
And there you have it—a fully functional OPNsense firewall running on Proxmox.
By now, you’ve:
Created an OPNsense VM.
Configured network interfaces.
Installed and set up OPNsense.
Optimised performance and tested connectivity.
The benefits?
Better security.
Flexible virtual networking.
Full control over your network.
Ready to take it further?
Experiment with VPNs, IDS/IPS, or advanced firewall rules.
FAQs
Q: Can I run OPNsense on low-end hardware?
A: Yes, but allocate enough resources for smooth performance.
Q: Do I need a separate NIC for WAN and LAN?
A: Not necessarily. You can use VLANs to separate traffic on a single NIC.
Q: Is OPNsense better than pfSense?
A: It depends on your needs. OPNsense has a more modern interface and frequent updates.
Q: Can I use OPNsense with other self-hosted apps?
A: Absolutely! It pairs well with apps like Pi-hole or Nextcloud.
Final Thoughts
Setting up OPNsense on Proxmox is a game-changer for self-hosters and home lab enthusiasts.
It’s secure, flexible, and puts you in control of your network.
So, what are you waiting for?
Dive in, secure your network, and take your self-hosting setup to the next level.
Keyword: Self-hosting, Self-hosted, Linux, Servers